All Categories
Featured
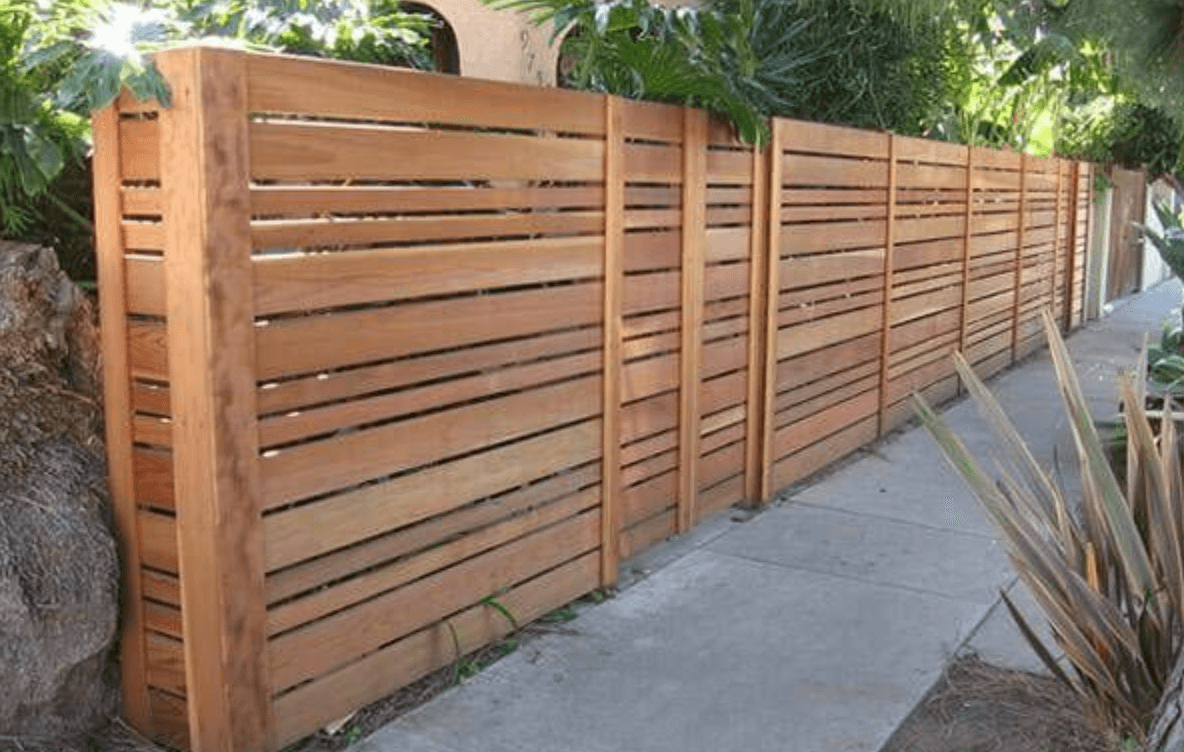
A leaning or damaged fencing message can be a significant inconvenience, influencing the stability of your whole fence. Whether due to weather, maturing, or exterior stress, a leaning fencing blog post can cause a sagging or uneven look that not just compromises your fencing's stability yet also its security.
![]()
Soil disintegration: In time, the soil around the base of the article might wear down due to heavy rainfall or flooding, creating the post to lean. Rot: Wood fencing articles can rot at the base as a result of prolonged exposure to wetness, leading to instability. Pressure: Exterior pressures such as wind, the weight of the fence, or leaning branches can cause the article to break or lean. Once you have actually determined the kind of damages, you can choose the most appropriate solution.
Alternative 1: Concrete: Prepare a bag of quick-setting concrete mix. Adhere to the manufacturer's instructions for the appropriate water-to-mix proportion. Pour the concrete around the base of the post, filling the hole. Make sure the post stays level as the concrete collections. It usually takes regarding 20-30 minutes to begin establishing, yet it's best to leave it uninterrupted for 24-hour for full curing.
Option 2: Gravel: If you favor a quicker, less long-term solution, you can use gravel as opposed to concrete. Pour gravel around the base of the message, ensuring it's stuffed firmly. This choice allows for far better drainage around the base, which can protect against further rot and leaning in the future.
![]()
Action 1: Remove the busted or rotted blog post by loosening up the concrete or crushed rock around it making use of a sledgehammer or article puller. Step 2: Once the message is gotten rid of, prepare the opening for the new blog post by ensuring it's deep sufficient to accommodate the new blog post and the product for reinforcement (concrete or gravel) Action 3: Install the new post in the red, seeing to it it's level and lined up with the other messages. Tip 4: Comply with the exact same actions for safeguarding the new blog post as detailed earlier, either making use of concrete or gravel for security. 6. Reinforce with Braces (If Needed) Take into consideration reinforcing it with extra assistance if the article is still not steady after correcting the alignment of and securing it. You can make use of a diagonal brace to hold the message upright until the concrete totally sets or as a permanent support. Attach one end of the support to the top of the article and the various other end to a neighboring fencing message or tough support. This will protect against the post from leaning once again.
![]()
Verdict. Repairing a leaning or damaged fence post is a basic yet rewarding job that can restore your fence's stability and look. By adhering to these actions and resolving the origin of the problem, you can make sure that your fence continues to be safe and upright for years ahead. Whether you're aligning a leaning blog post or changing one that's past repair work, taking care of your fence messages quickly will aid you keep the honesty and protection of your fencing.
- Examine the Damage. Before you begin taking care of the leaning fence message, it's essential to examine the damages thoroughly. Figure out whether the article is just leaning or if it's split, decomposed, or damaged at the base. Typical reasons for leaning fence blog posts include:
.jpg)
Soil disintegration: In time, the soil around the base of the article might wear down due to heavy rainfall or flooding, creating the post to lean. Rot: Wood fencing articles can rot at the base as a result of prolonged exposure to wetness, leading to instability. Pressure: Exterior pressures such as wind, the weight of the fence, or leaning branches can cause the article to break or lean. Once you have actually determined the kind of damages, you can choose the most appropriate solution.
- Dig Around the Base of the Message. To take care of a leaning blog post, you'll require to subject the base. Be cautious not to damage the post even more as you dig.
- Straighten out the Post. You can correct it prior to protecting it again if the article is only leaning and not severely damaged. Utilize a degree to guarantee the blog post is lined up effectively, making certain it's upright. You might require a helper for this action to keep the post in position while you add assistance.
- Include New Concrete or Crushed Rock. To enhance the blog post and prevent future leaning, you will need to add brand-new concrete or gravel to the base. Here's just how to do it:
Alternative 1: Concrete: Prepare a bag of quick-setting concrete mix. Adhere to the manufacturer's instructions for the appropriate water-to-mix proportion. Pour the concrete around the base of the post, filling the hole. Make sure the post stays level as the concrete collections. It usually takes regarding 20-30 minutes to begin establishing, yet it's best to leave it uninterrupted for 24-hour for full curing.
Option 2: Gravel: If you favor a quicker, less long-term solution, you can use gravel as opposed to concrete. Pour gravel around the base of the message, ensuring it's stuffed firmly. This choice allows for far better drainage around the base, which can protect against further rot and leaning in the future.
- If Essential), change the Article (. It may be best to change the blog post totally if the article is seriously damaged or decayed at the base. This process entails eliminating the damaged blog post, which can be challenging if it's deeply ingrained in concrete or gravel. Below's just how to change it:
Action 1: Remove the busted or rotted blog post by loosening up the concrete or crushed rock around it making use of a sledgehammer or article puller. Step 2: Once the message is gotten rid of, prepare the opening for the new blog post by ensuring it's deep sufficient to accommodate the new blog post and the product for reinforcement (concrete or gravel) Action 3: Install the new post in the red, seeing to it it's level and lined up with the other messages. Tip 4: Comply with the exact same actions for safeguarding the new blog post as detailed earlier, either making use of concrete or gravel for security. 6. Reinforce with Braces (If Needed) Take into consideration reinforcing it with extra assistance if the article is still not steady after correcting the alignment of and securing it. You can make use of a diagonal brace to hold the message upright until the concrete totally sets or as a permanent support. Attach one end of the support to the top of the article and the various other end to a neighboring fencing message or tough support. This will protect against the post from leaning once again.
- Routine Upkeep. Make certain to routinely examine the posts for indicators of damage or leaning once the leaning article is repaired. Examine the problem of the timber or various other materials made use of in your fencing to avoid future concerns. If you stay in a location vulnerable to heavy rainfall or dirt erosion, take into consideration adding added assistance to your messages by using concrete or gravel and making sure appropriate drainage around the posts.
Verdict. Repairing a leaning or damaged fence post is a basic yet rewarding job that can restore your fence's stability and look. By adhering to these actions and resolving the origin of the problem, you can make sure that your fence continues to be safe and upright for years ahead. Whether you're aligning a leaning blog post or changing one that's past repair work, taking care of your fence messages quickly will aid you keep the honesty and protection of your fencing.
Latest Posts
The Roadway to Financial Freedom Begins Here
Published Apr 21, 25
1 min read
Inquire for Your Desire Occasion at Enjoyable City Hotel
Published Apr 21, 25
1 min read
Enhance Your Hyundai Ownership with Ron Marhofer Hyundai's Unique Programs
Published Apr 20, 25
1 min read